Looking for print setting recommendations for prints. I've printed a few of my targets, but the colors are muted and the images seem flat. Not nearly as vibrant as what's on the screen. What setting should I use for creating an image for printing? Image just for fun. 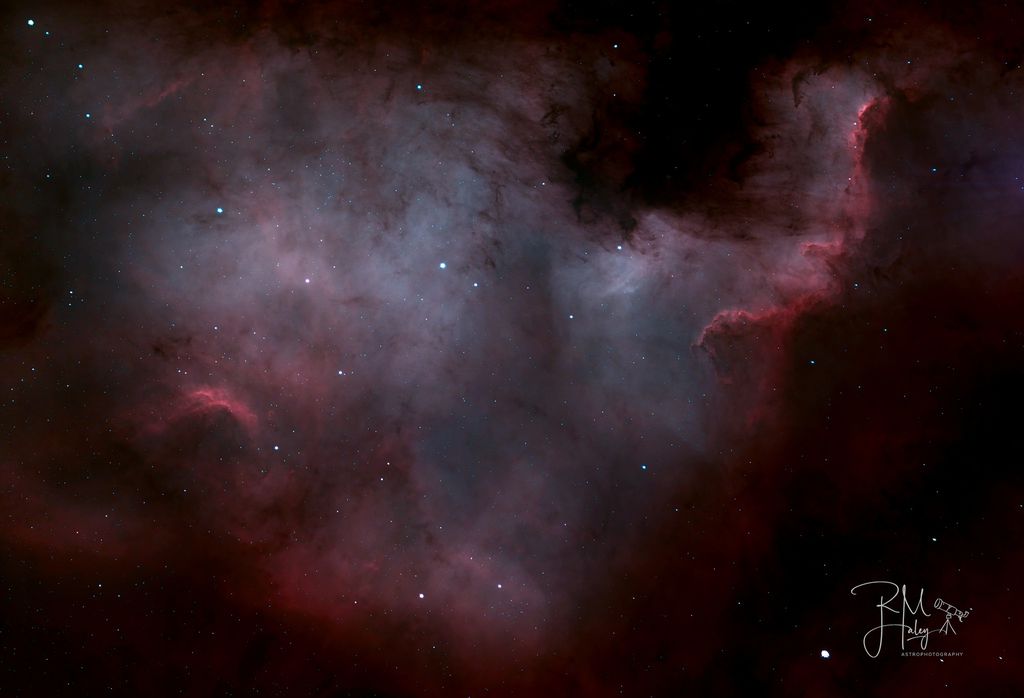 |
You cannot like this item. Reason: "ANONYMOUS".
You cannot remove your like from this item.
Editing a post is only allowed within 24 hours after creating it.
You cannot Like this post because the topic is closed.
Copy the URL below to share a direct link to this post.
This post cannot be edited using the classic forums editor.
To edit this post, please enable the "New forums experience" in your settings.
I have the same issues. In trying to chase this down, I have learned from different YouTubers, the images for printing should be a bit "over-exposed" due to the inherent differences between digital projection (i.e. led monitors) and printed colors. Also, I think the material used for printing matters greatly. Metal prints are much brighter than paper prints. That said, it would be great of others with more knowledge than me provided guidance on this thread. Hope this helps.
|
You cannot like this item. Reason: "ANONYMOUS".
You cannot remove your like from this item.
Editing a post is only allowed within 24 hours after creating it.
You cannot Like this post because the topic is closed.
Copy the URL below to share a direct link to this post.
This post cannot be edited using the classic forums editor.
To edit this post, please enable the "New forums experience" in your settings.
@Michael Jarvis - Yeah, I was considering metal prints, but I don't want to pay a bunch of money just to test it out. I never considered YouTube, maybe I'll check that out.
|
You cannot like this item. Reason: "ANONYMOUS".
You cannot remove your like from this item.
Editing a post is only allowed within 24 hours after creating it.
You cannot Like this post because the topic is closed.
Copy the URL below to share a direct link to this post.
This post cannot be edited using the classic forums editor.
To edit this post, please enable the "New forums experience" in your settings.
Best thing you can do is find a competent print shop who knows their own printers and have their RGB to CMYK conversions dialed in. If you go that route then you don't have to do anything special. Print media is in a subtractive colorspace whereas stuff on a screen is additive. Getting the conversion right is much more difficult then people imagine. I mean, getting three different monitors to agree is already hard enough, and even if you manage that, a month later they will start to drift apart. Now throw pigment and paper into the mix.
Find a professional local print shop and do some tests.
|
You cannot like this item. Reason: "ANONYMOUS".
You cannot remove your like from this item.
Editing a post is only allowed within 24 hours after creating it.
You cannot Like this post because the topic is closed.
Copy the URL below to share a direct link to this post.
This post cannot be edited using the classic forums editor.
To edit this post, please enable the "New forums experience" in your settings.
I first tried printing two years ago and was very disappointed in the beginning. Took me months to figure it out. And still, the result is not exactly what I want. Ideally, you have to tweak the settings on your monitor in such a way that resembles an actual print. Its a bit easier (in my experience) doing it with an oled display because the black is more accurately black. Do test prints on the material you want to print and open up the image on your computer to view side by side (print vs monitor). When you find the ideal settings/brightness on your monitor, then you process the image with those settings. Most of time, as Michael mentioned, you just have to over expose the image and maybe play around with the color (certain colors don't show up as well).
|
You cannot like this item. Reason: "ANONYMOUS".
You cannot remove your like from this item.
Editing a post is only allowed within 24 hours after creating it.
You cannot Like this post because the topic is closed.
Copy the URL below to share a direct link to this post.
This post cannot be edited using the classic forums editor.
To edit this post, please enable the "New forums experience" in your settings.
They make calibrators for the monitor and printer. High quality monitors, that most of us do not have, can be tuned very well for printing.
the rest of the monitors (mainstream) can be adjusted very close to perfect using said calibrators.
they scan certain colors on the monitor and again after they are printed and they create an image profile for the monitor/printer combo.
|
You cannot like this item. Reason: "ANONYMOUS".
You cannot remove your like from this item.
Editing a post is only allowed within 24 hours after creating it.
You cannot Like this post because the topic is closed.
Copy the URL below to share a direct link to this post.
This post cannot be edited using the classic forums editor.
To edit this post, please enable the "New forums experience" in your settings.
Michael Jarvis:
I have the same issues. In trying to chase this down, I have learned from different YouTubers, the images for printing should be a bit "over-exposed" due to the inherent differences between digital projection (i.e. led monitors) and printed colors. Also, I think the material used for printing matters greatly. Metal prints are much brighter than paper prints. That said, it would be great of others with more knowledge than me provided guidance on this thread. Hope this helps. I've seen this video in the past where @Nico Carver shares an interesting approach on how to print photos: https://www.youtube.com/watch?v=6teO7e6EhBk&list=PLrzbdmripj1d0shhKaPsv6XjEmjdsiGix&index=2 |
You cannot like this item. Reason: "ANONYMOUS".
You cannot remove your like from this item.
Editing a post is only allowed within 24 hours after creating it.
You cannot Like this post because the topic is closed.
Copy the URL below to share a direct link to this post.
This post cannot be edited using the classic forums editor.
To edit this post, please enable the "New forums experience" in your settings.
I've seen this video in the past where @Nico Carver shares an interesting approach on how to print photos:
https://www.youtube.com/watch?v=6teO7e6EhBk&list=PLrzbdmripj1d0shhKaPsv6XjEmjdsiGix&index=2 Great video, thanks  |
You cannot like this item. Reason: "ANONYMOUS".
You cannot remove your like from this item.
Editing a post is only allowed within 24 hours after creating it.
You cannot Like this post because the topic is closed.
Copy the URL below to share a direct link to this post.
This post cannot be edited using the classic forums editor.
To edit this post, please enable the "New forums experience" in your settings.
There are a few key steps to ensure a good quality print from digital images.
For best results, it's better to know the specifications of the printer you're going to use.
But in short, I would at least do/check the following things:
1 - DPI
Ensure the file you're going to send has a correct resolution for the printer you're targetting.
If you don't know, use 300 DPI.
2 - CMYK
Convert the image to CMYK, if possible with a color profile matching the printer.
Colors are going to look faint - this is perfectly normal.
Do the necessary adjustments so they look as good as possible in CMYK mode using levels, curves, hue/saturation, etc.
This is critical as simply printing a RGB image on a CMYK printer will usually produce bad colors.
Note that the paper you're going to use will have an infulence on the final result. Some papers may have a yellow tint, so adjust accordingly.
3 - Ink Levels
Very important, check the ink levels!
Different papers react differently to ink. In CMYK, black for instance can be printed using only the black cartridge or using the Cyan, Magenta and Yellow ones. Or even all fours.
This will result in a different amount of ink deposited on the paper, and all paper types have a maximum amount of ink they can handle.
If you're printing on newspaper, the maximum amount of ink will be very low compared to a photo paper. If you exceed it, the paper will be soaked in ink and the print will look ugly.
So you need to know the specifications of the paper you're going to use, and the maximum amount of ink you can use on it.
Then use the eyedropper tool and scan various parts of the image and check in the info panel if you're not exceeding the maximum level of ink.
|
You cannot like this item. Reason: "ANONYMOUS".
You cannot remove your like from this item.
Editing a post is only allowed within 24 hours after creating it.
You cannot Like this post because the topic is closed.
Copy the URL below to share a direct link to this post.
This post cannot be edited using the classic forums editor.
To edit this post, please enable the "New forums experience" in your settings.
@Jean-David Gadina Thanks for that detail. I think I have to use Photoshop for that, but that's fine. I am going to look into a local printer, who can hopefully make the necessary adjustments.
|
You cannot like this item. Reason: "ANONYMOUS".
You cannot remove your like from this item.
Editing a post is only allowed within 24 hours after creating it.
You cannot Like this post because the topic is closed.
Copy the URL below to share a direct link to this post.
This post cannot be edited using the classic forums editor.
To edit this post, please enable the "New forums experience" in your settings.
Besides what @Jean-David Gadina said, you can ask the printshop which colorprofile or settings they use. It will also depend on the type of paper. However, if the monitor is not calibrated, the print could still deviate from what you see on the screen despite using proper profiles.
|
You cannot like this item. Reason: "ANONYMOUS".
You cannot remove your like from this item.
Editing a post is only allowed within 24 hours after creating it.
You cannot Like this post because the topic is closed.
Copy the URL below to share a direct link to this post.
This post cannot be edited using the classic forums editor.
To edit this post, please enable the "New forums experience" in your settings.
Please do not perform CMYK separation on your own. If you don‘t know what you are doing you will ruin your picture. Modern fine art printers use more inks than 4 colors therefore separation has to be done in the rip software before the printer. All print service provider will ask you to provide your file in RGB.
Please ensure you have an ICC profile embedded in your file. If you have colorprofiles for softproofing from the provider use them for softproofing only. Don‘t embed or convert into that profile.
I‘m working for the photolab whitewall.com but I don‘t want to do advertising here. I have done lot‘s of prints with my own astro images and I must admit that astro images are really special in printing. A few tips:
1. invest in a good monitor capable of hardware calibration and calibration kit.
2. use softproof profile and turn paper white simulation on. Image will look very dark and this is due to the difference in dynamic range between paper and monitor.
3. make a curve adjustment to increase the midtone levels until it looks fine with paper white simulation. It might look a little bit extreme on monitor but that‘s ok
4. Don‘t change the colorprofile of your image unless you know what you are doing. A good lab will handle it correctly
5. if you are printing the first time order a hardproof to ensure you are happy
6. don‘t upscale the image yourself. The photolab will have better tools for that
7. Disable automatic image enhancement for your print order
And a last personal recommendation: photochemical prints may look better than inkjet prints because they reduce noise. I personally found Fuji Pearl paper the best for astro images because it‘s a metallic paper where there will be an optical glow effect on bright parts of the image (=stars). It has very good contrast too.
best,
Markus
|
You cannot like this item. Reason: "ANONYMOUS".
You cannot remove your like from this item.
Editing a post is only allowed within 24 hours after creating it.
You cannot Like this post because the topic is closed.
Copy the URL below to share a direct link to this post.
This post cannot be edited using the classic forums editor.
To edit this post, please enable the "New forums experience" in your settings.
I occasionally get prints done on glossy aluminum by Artbeat Studios with pretty good results. They have specific guidance for submitting artwork for printing: https://www.artbeatstudios.com/print-specificationsI'm sure other shops can give you similar guidance. If you're planning to print your own, trial and error is probably your best bet.
|
You cannot like this item. Reason: "ANONYMOUS".
You cannot remove your like from this item.
Editing a post is only allowed within 24 hours after creating it.
You cannot Like this post because the topic is closed.
Copy the URL below to share a direct link to this post.
This post cannot be edited using the classic forums editor.
To edit this post, please enable the "New forums experience" in your settings.
Pro photographer here - much good advice offered above already.  - Work with a pro lab and use their specifications - e.g., Adobe 1998 RGB colour space, 300 dpi, etc. - Get a monitor calibration device, spyder or similar and calibrate your monitor to match the lab's specs - otherwise, it's like driving at night without headlights; you can't see where you're going! - Get a narrow test strip done before ordering wall-size prints (usually under $10) and see how it looks, then adjust colour/density as and if required. - If your lab has it, Fujiflex is incredible for Astrophotography images. Alternatively, metal prints are brilliant, too. - No affiliation but Bay Photo does great work in the USA, Print2Metal does in Australia. CS Andy
|
You cannot like this item. Reason: "ANONYMOUS".
You cannot remove your like from this item.
Editing a post is only allowed within 24 hours after creating it.
You cannot Like this post because the topic is closed.
Copy the URL below to share a direct link to this post.
This post cannot be edited using the classic forums editor.
To edit this post, please enable the "New forums experience" in your settings.
I ended up going to a local print shop and they did an amazing job once I voiced my concerns with them. Fantastic results.
|
You cannot like this item. Reason: "ANONYMOUS".
You cannot remove your like from this item.
Editing a post is only allowed within 24 hours after creating it.
You cannot Like this post because the topic is closed.
Copy the URL below to share a direct link to this post.
This post cannot be edited using the classic forums editor.
To edit this post, please enable the "New forums experience" in your settings.
I have had the same problem with prints coming out darker. I increase brightness by about 20 (in Photoshop) and make sure I select Photoshop (not computer or printer) controls printing. I use metallic paper from Red River and prints look closer to the monitor. Red River Paper also has numerous online tutorials to help improve printing.
|
You cannot like this item. Reason: "ANONYMOUS".
You cannot remove your like from this item.
Editing a post is only allowed within 24 hours after creating it.
You cannot Like this post because the topic is closed.
Copy the URL below to share a direct link to this post.
This post cannot be edited using the classic forums editor.
To edit this post, please enable the "New forums experience" in your settings.


