Unpowered Solar Viewing Anything goes · Steven Fanutti · ... · 6 · 270 · 5

sfanutti 1.91
...
· 
·  1 like
·  Share link
So, I really love solar observing and astrophotography. But I don't always have time for telescopic viewing. I have made several solar filters for my camera lenses which I use for unpowered Solar viewing also. I have eclipse glasses, but cardboard won't last forever, especially for regular daily use. So I sought to make a durable solar viewer for daily use that will last for years. I used Thousand Oaks Black Polymer for the filters and camera accessories for the viewing tube. I also use a red filter the reduce internal reflections.

Total Inventory of Parts used for this assembly:

- Two 86 mm UV filters
- Thousand Oaks Black Polymer filter
- 86 mm metal lens hood
- Step ring set
- 58 mm red filter
- 58 mm adapter to a 1.25-inch opening (I used this part for spectroscopy in the past)

The red filter is necessary to reduce the reflection of your eye from the glass of the internal UV filter. It gives the Sun a red cast, but it works well. The solar filter film is sandwiched between two UV filters. To protect my other eye, I wear an eye patch. Focus is achieved by varying the distance of the viewer from my eye.

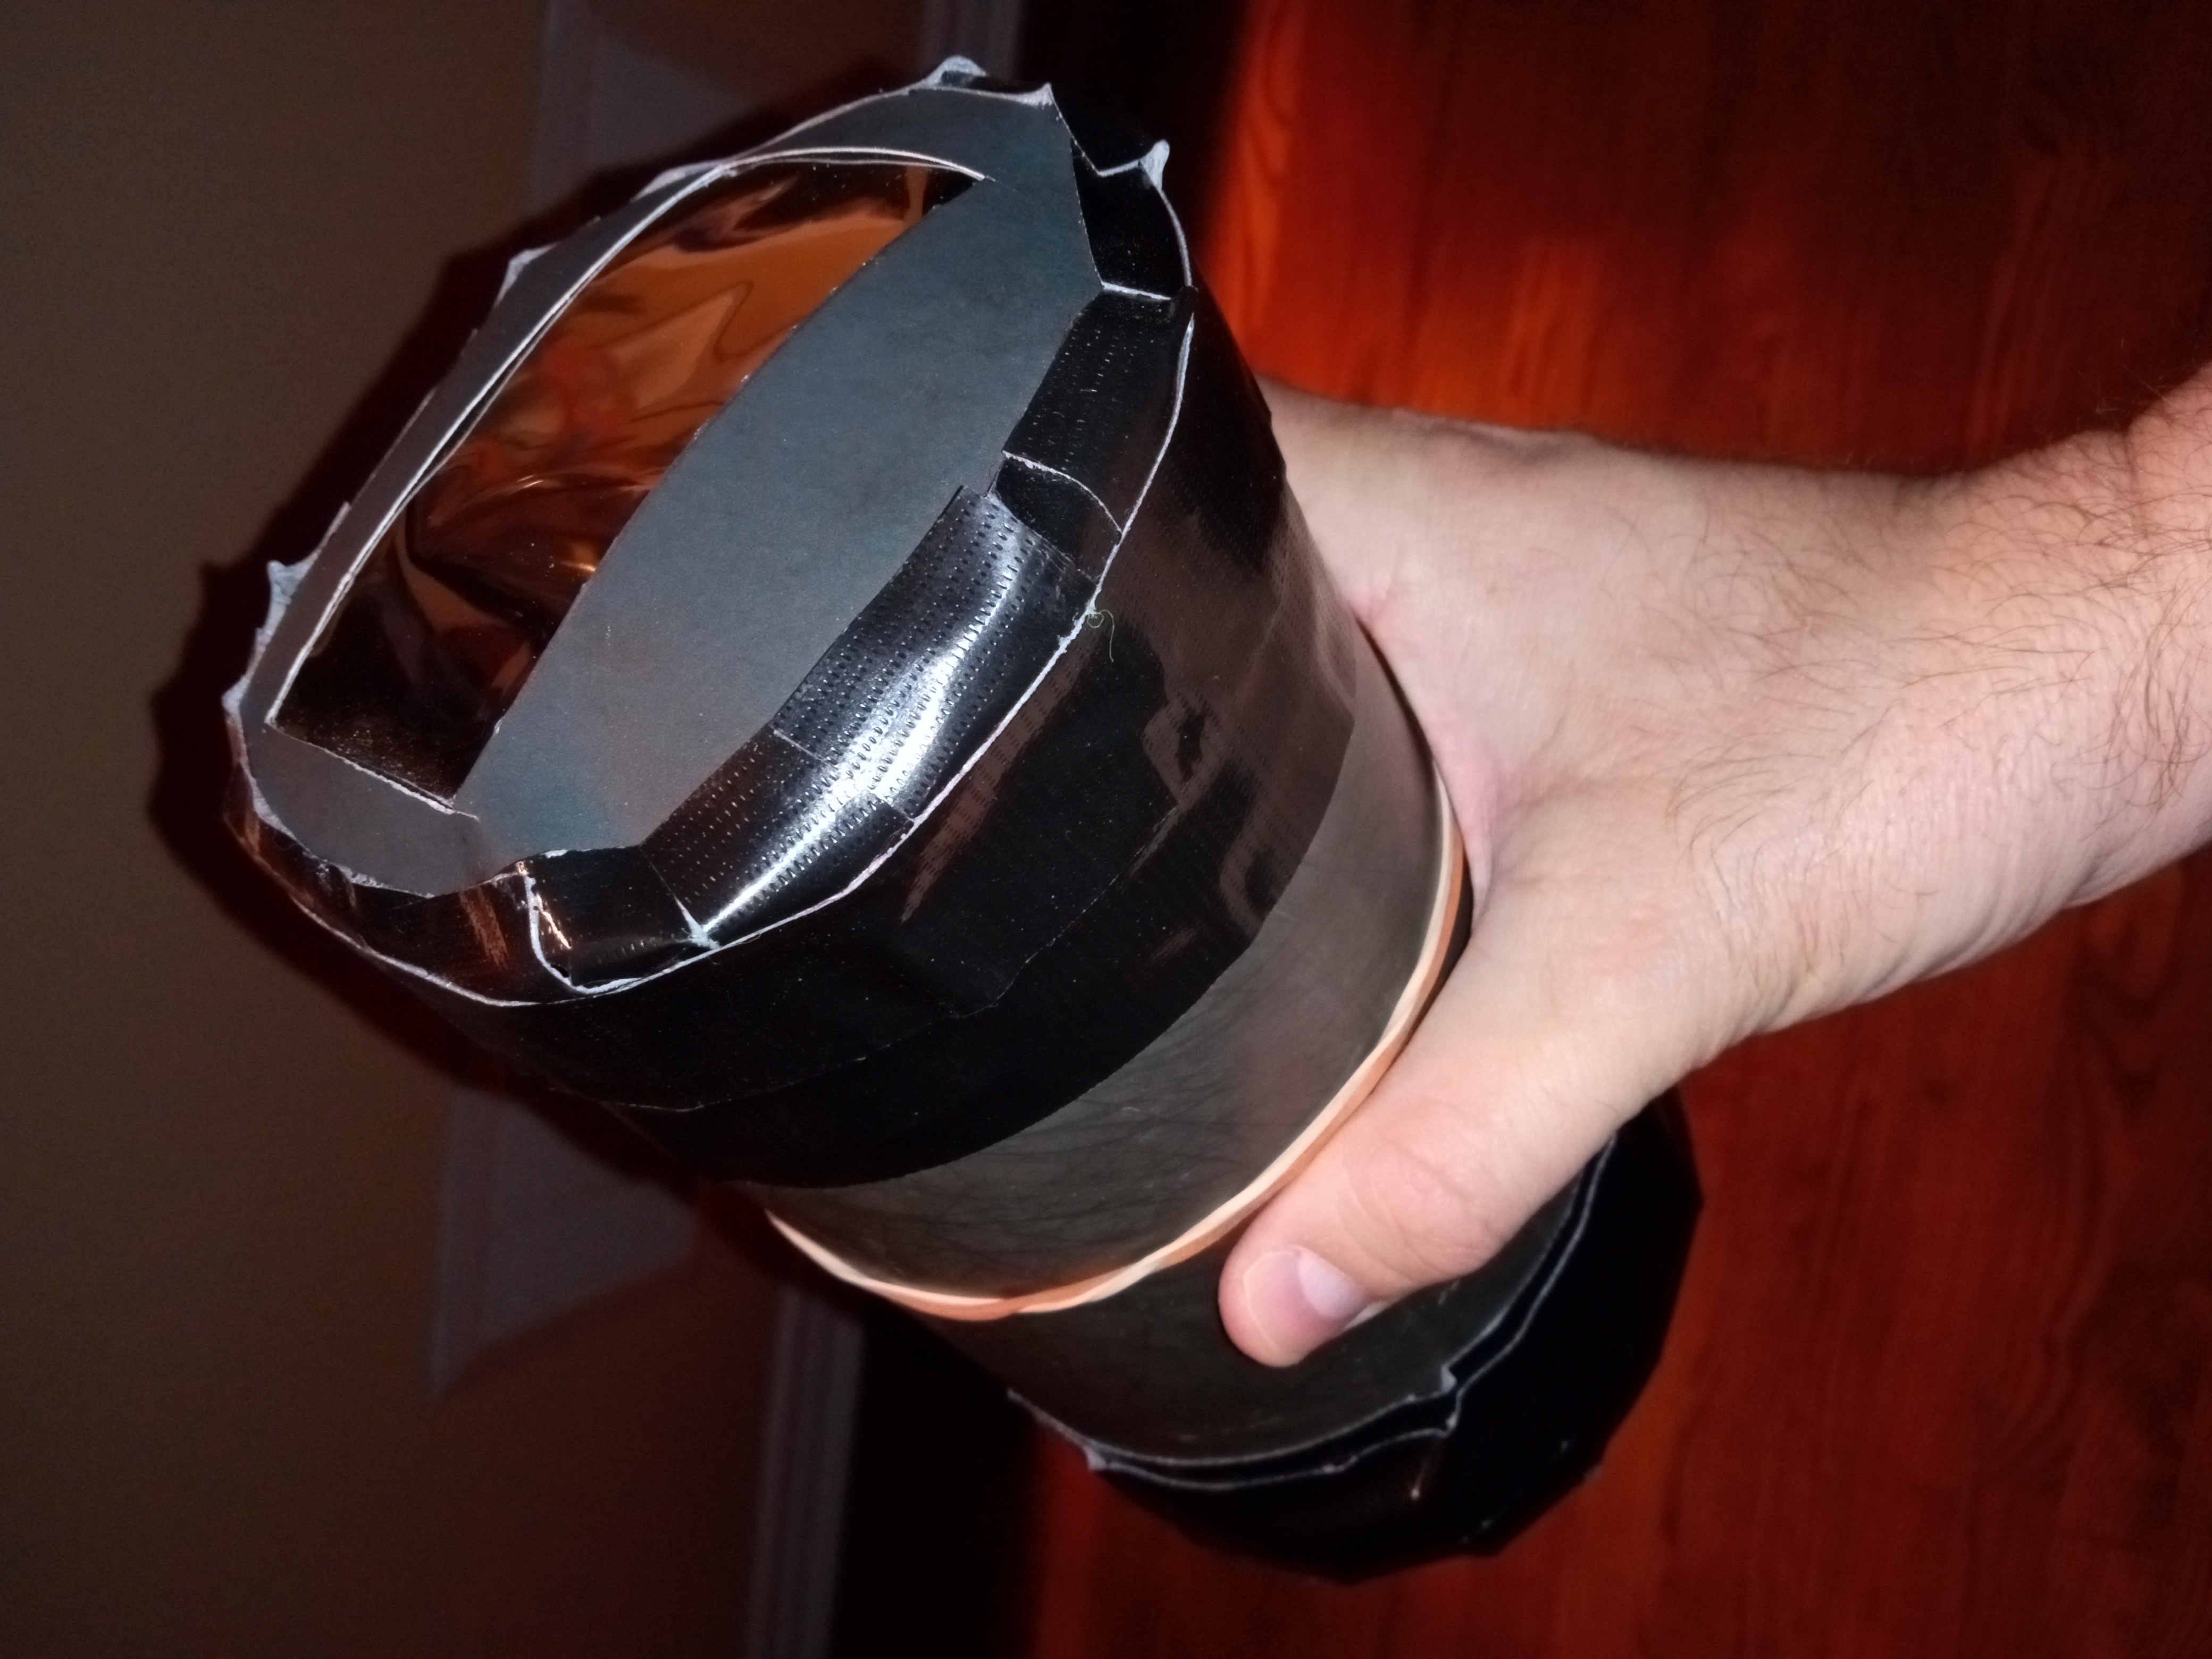
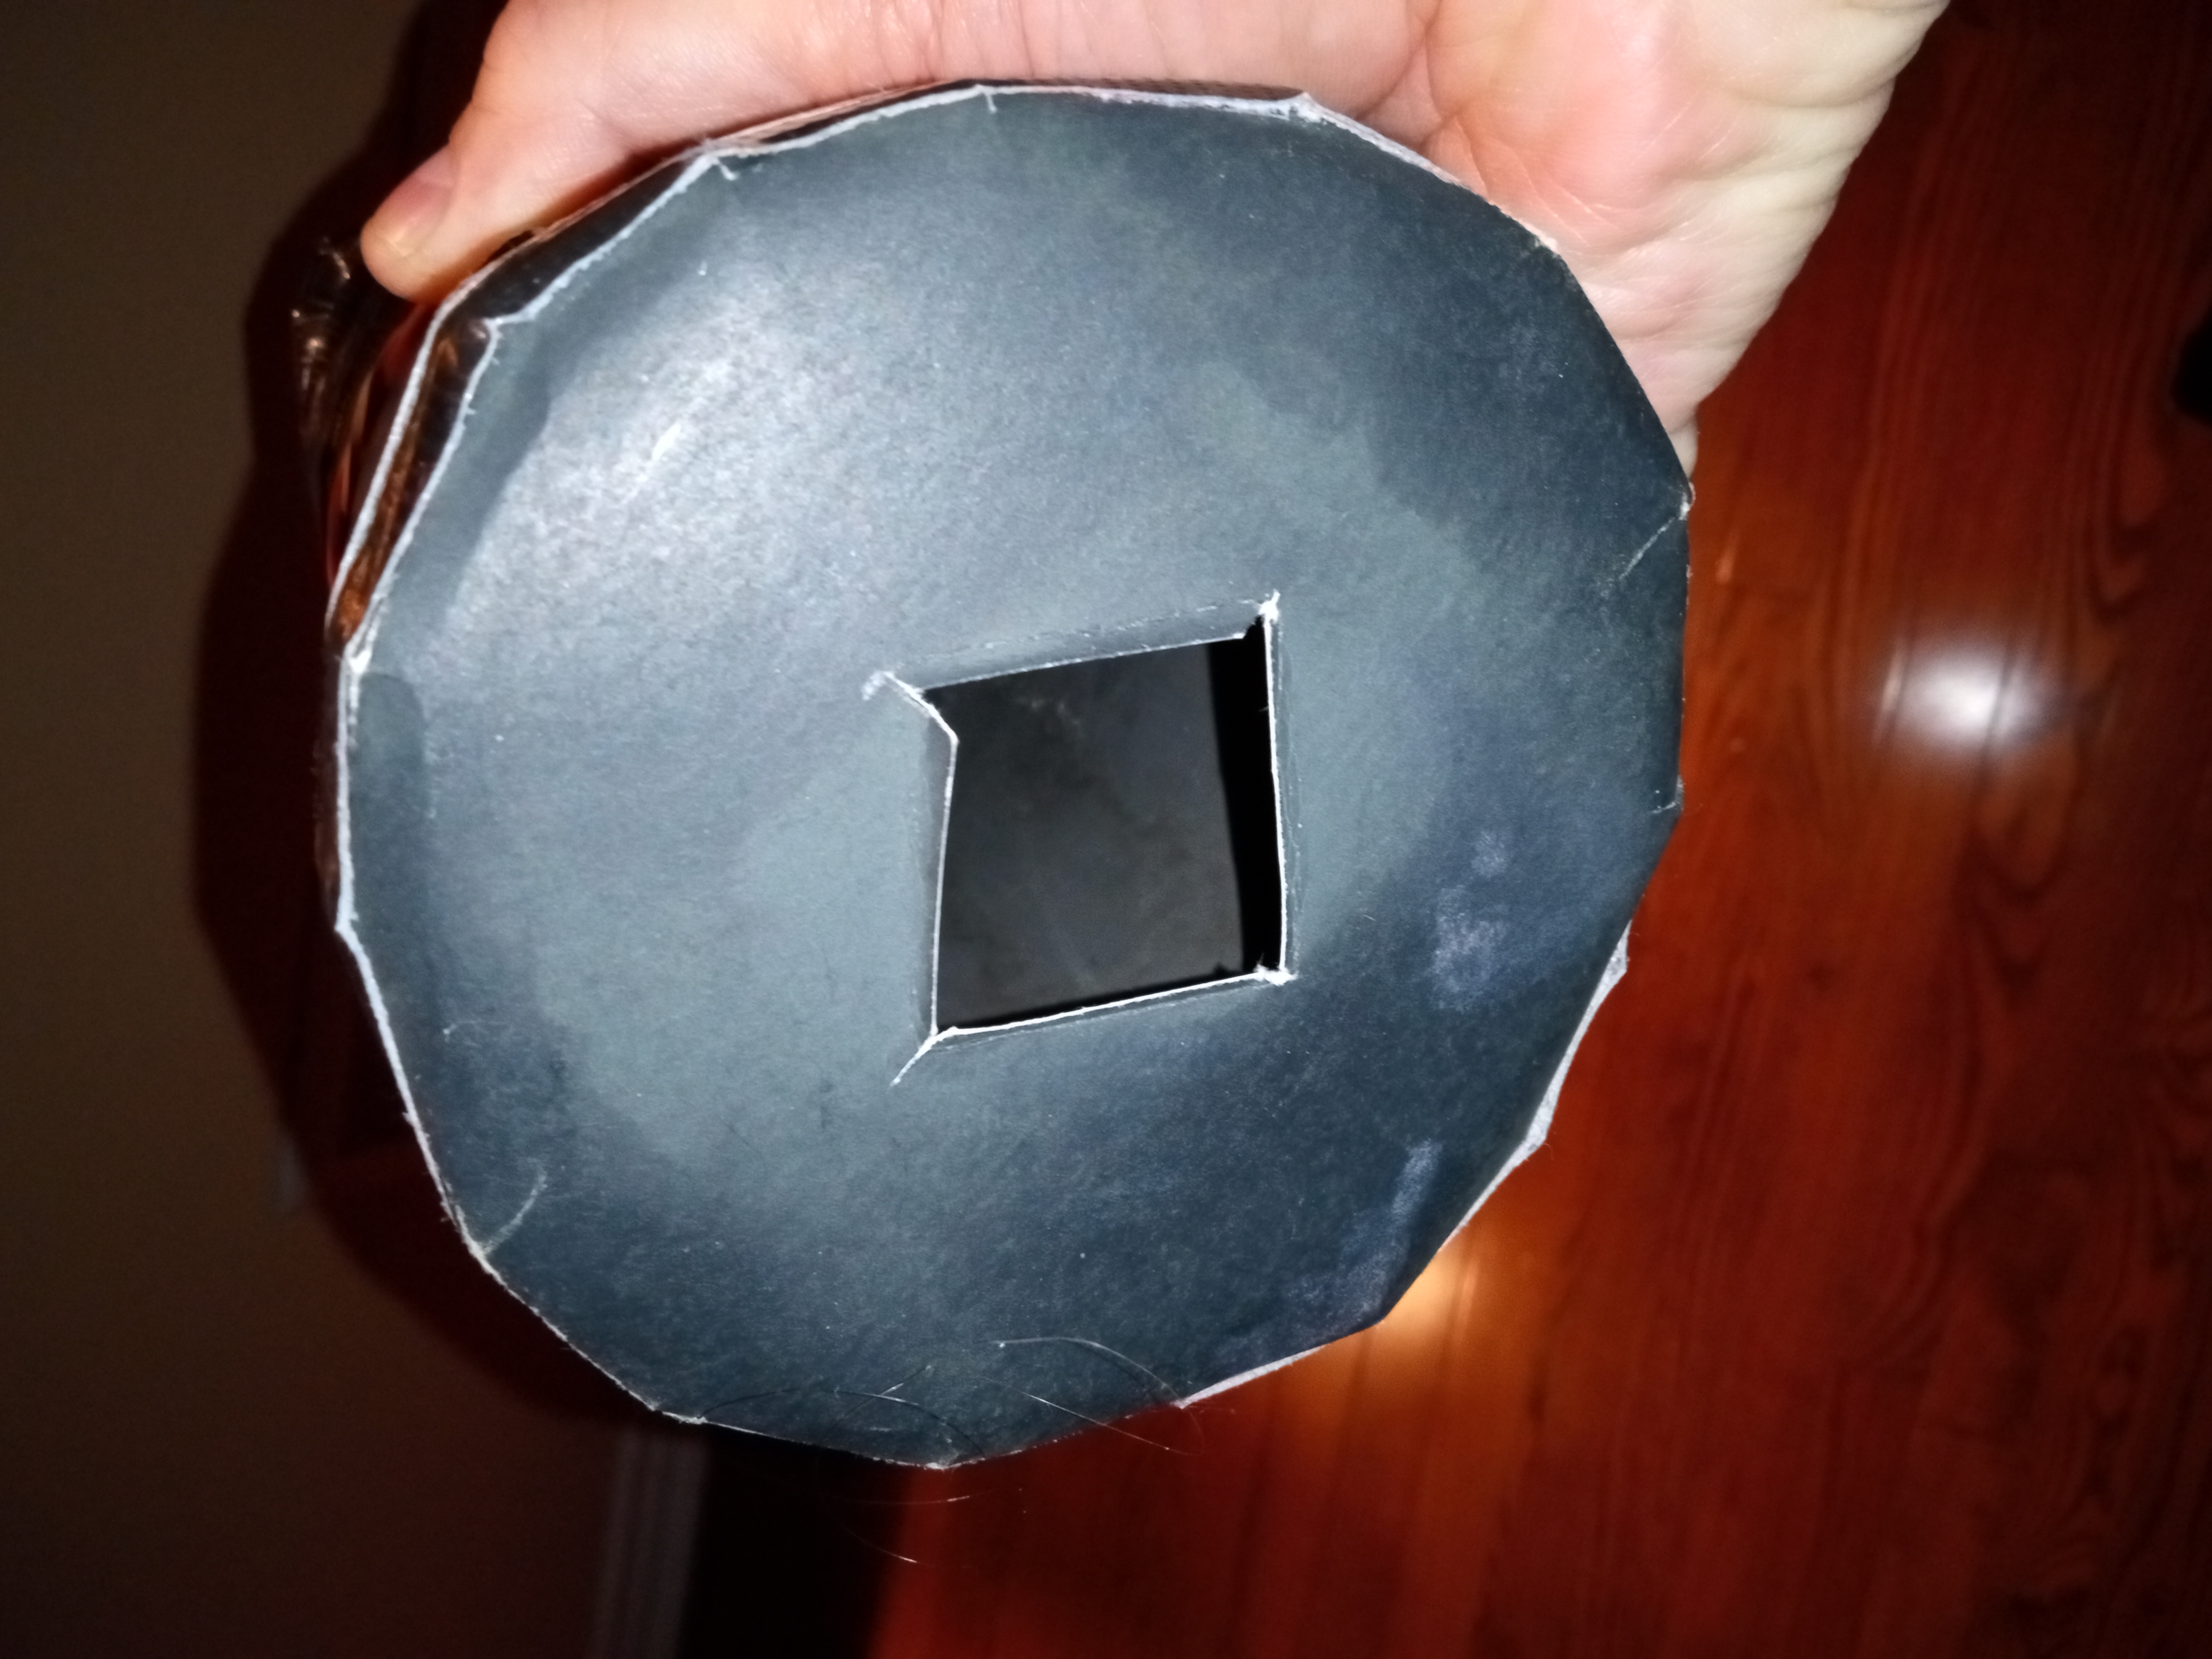
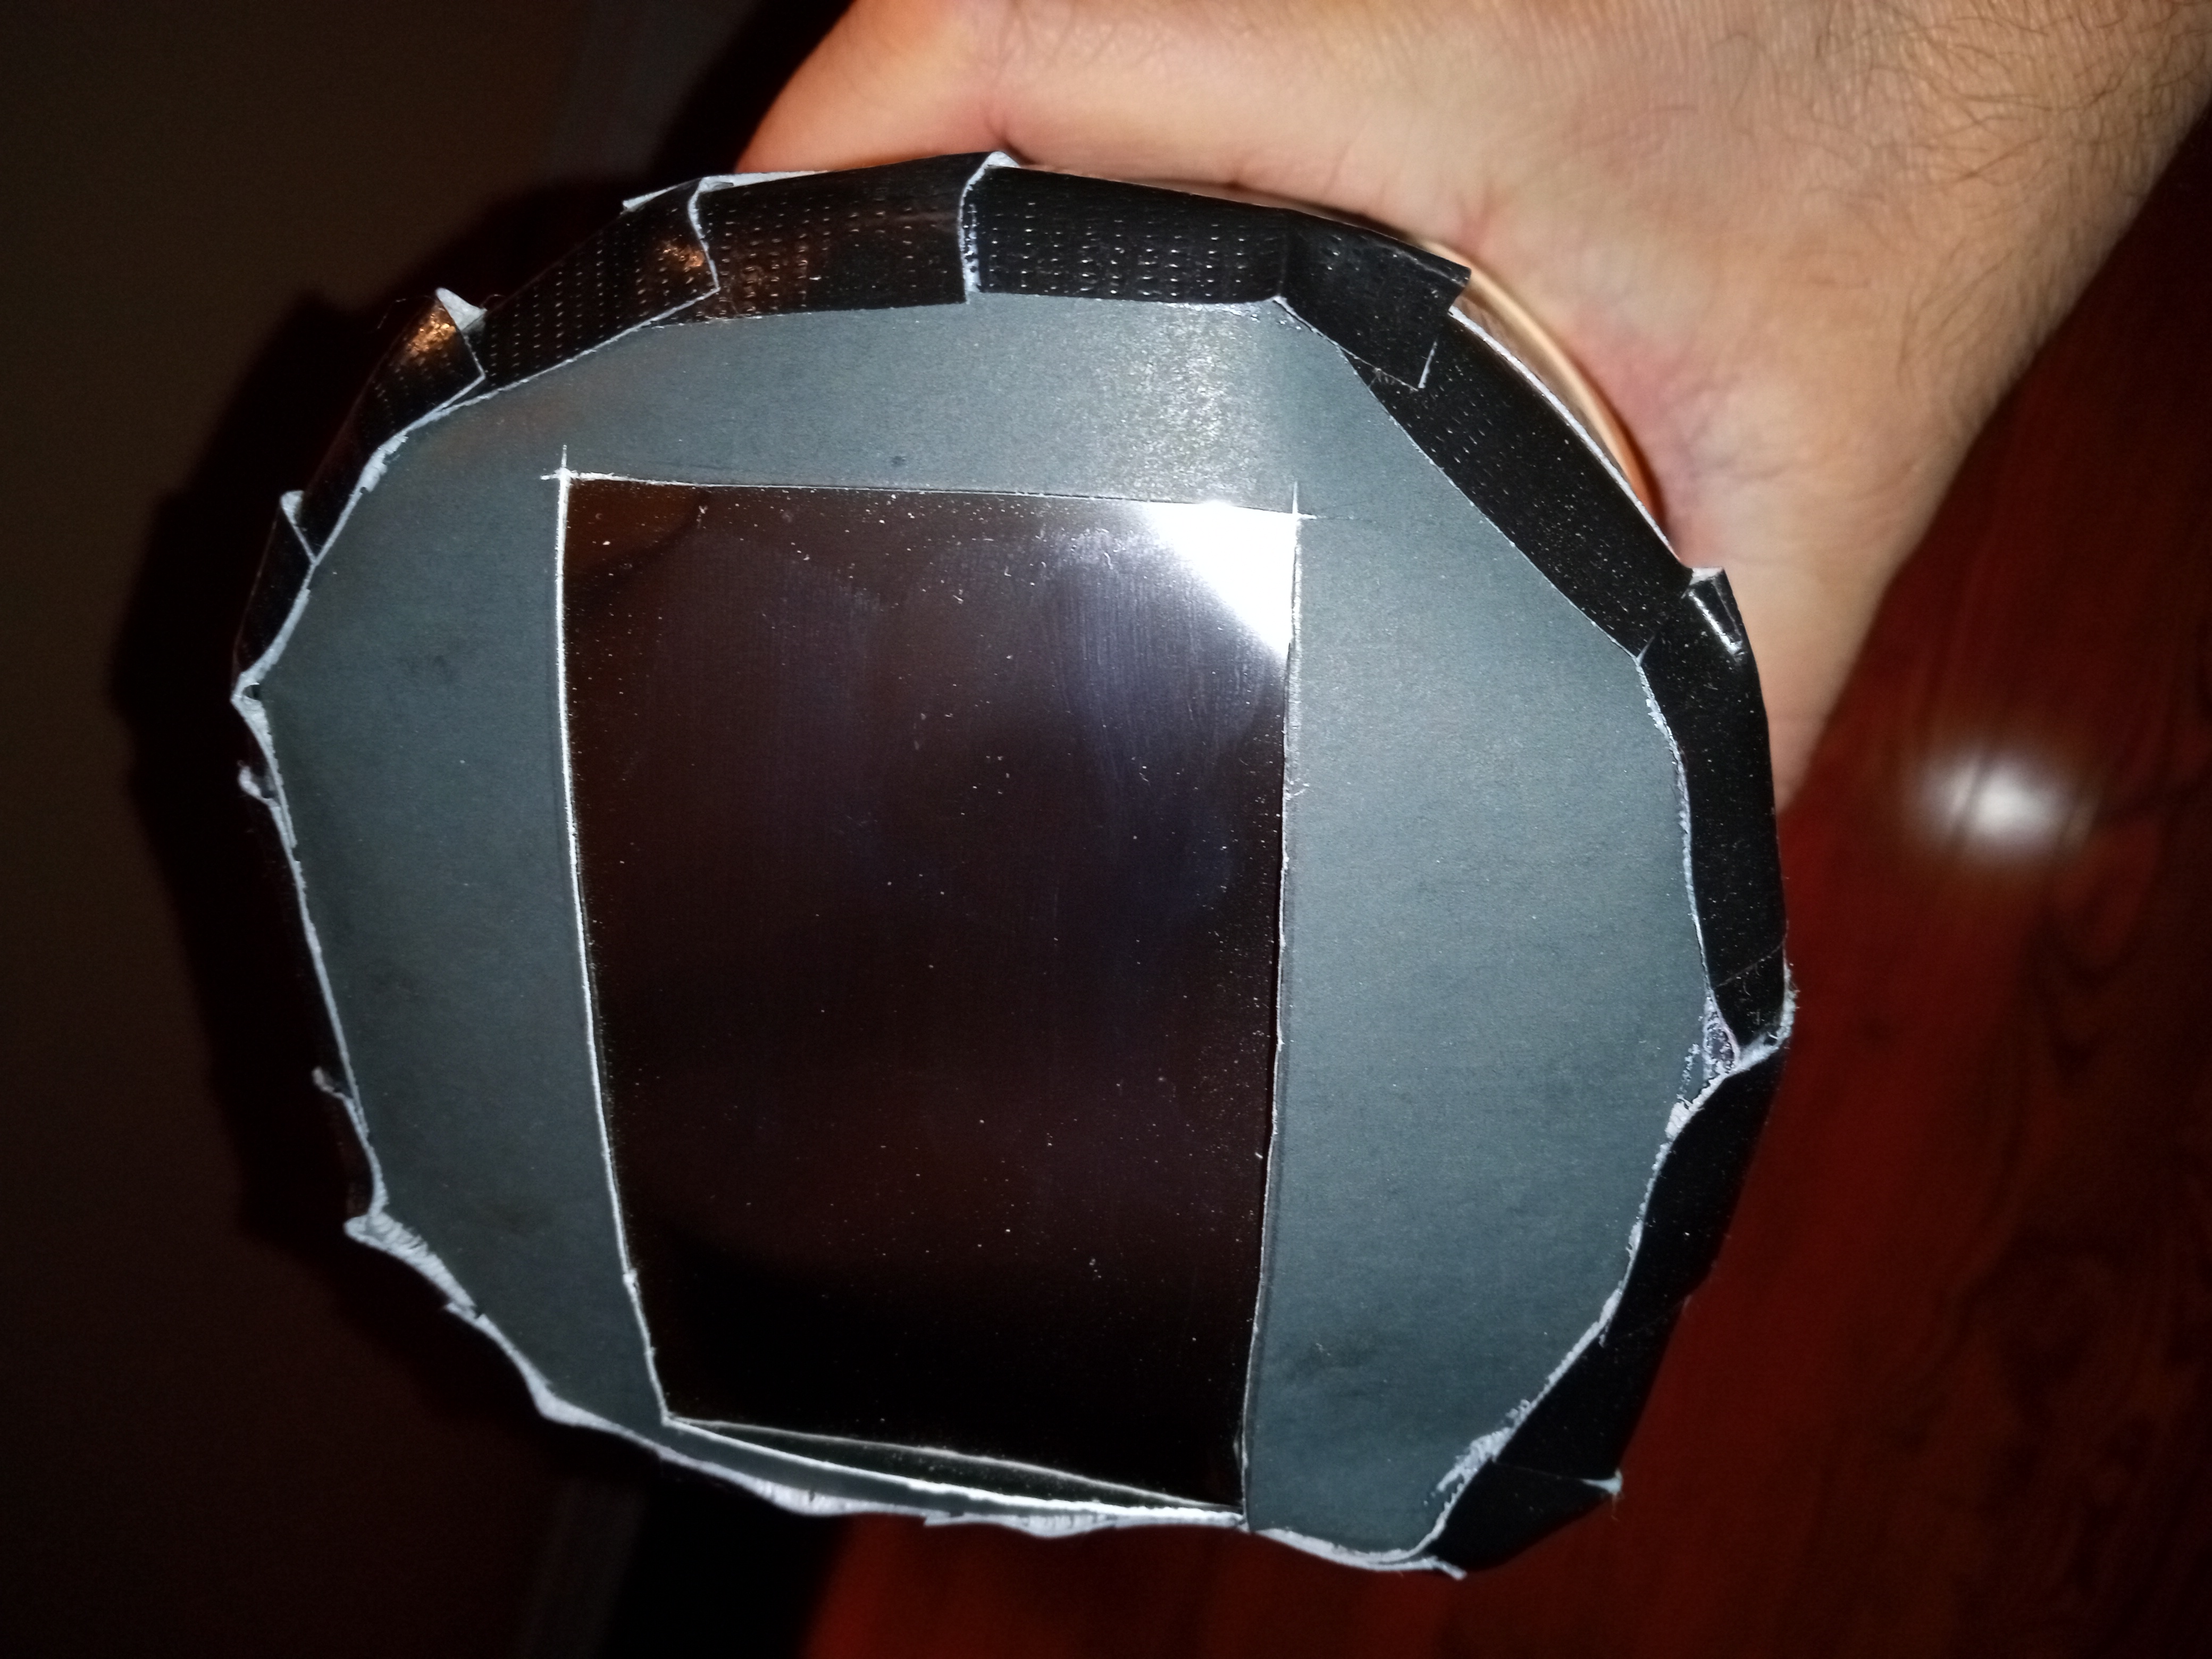
Here are a couple of photos of the assembly:

IMG_20250426_203732_905.jpg

IMG_20250426_203656_999.jpg

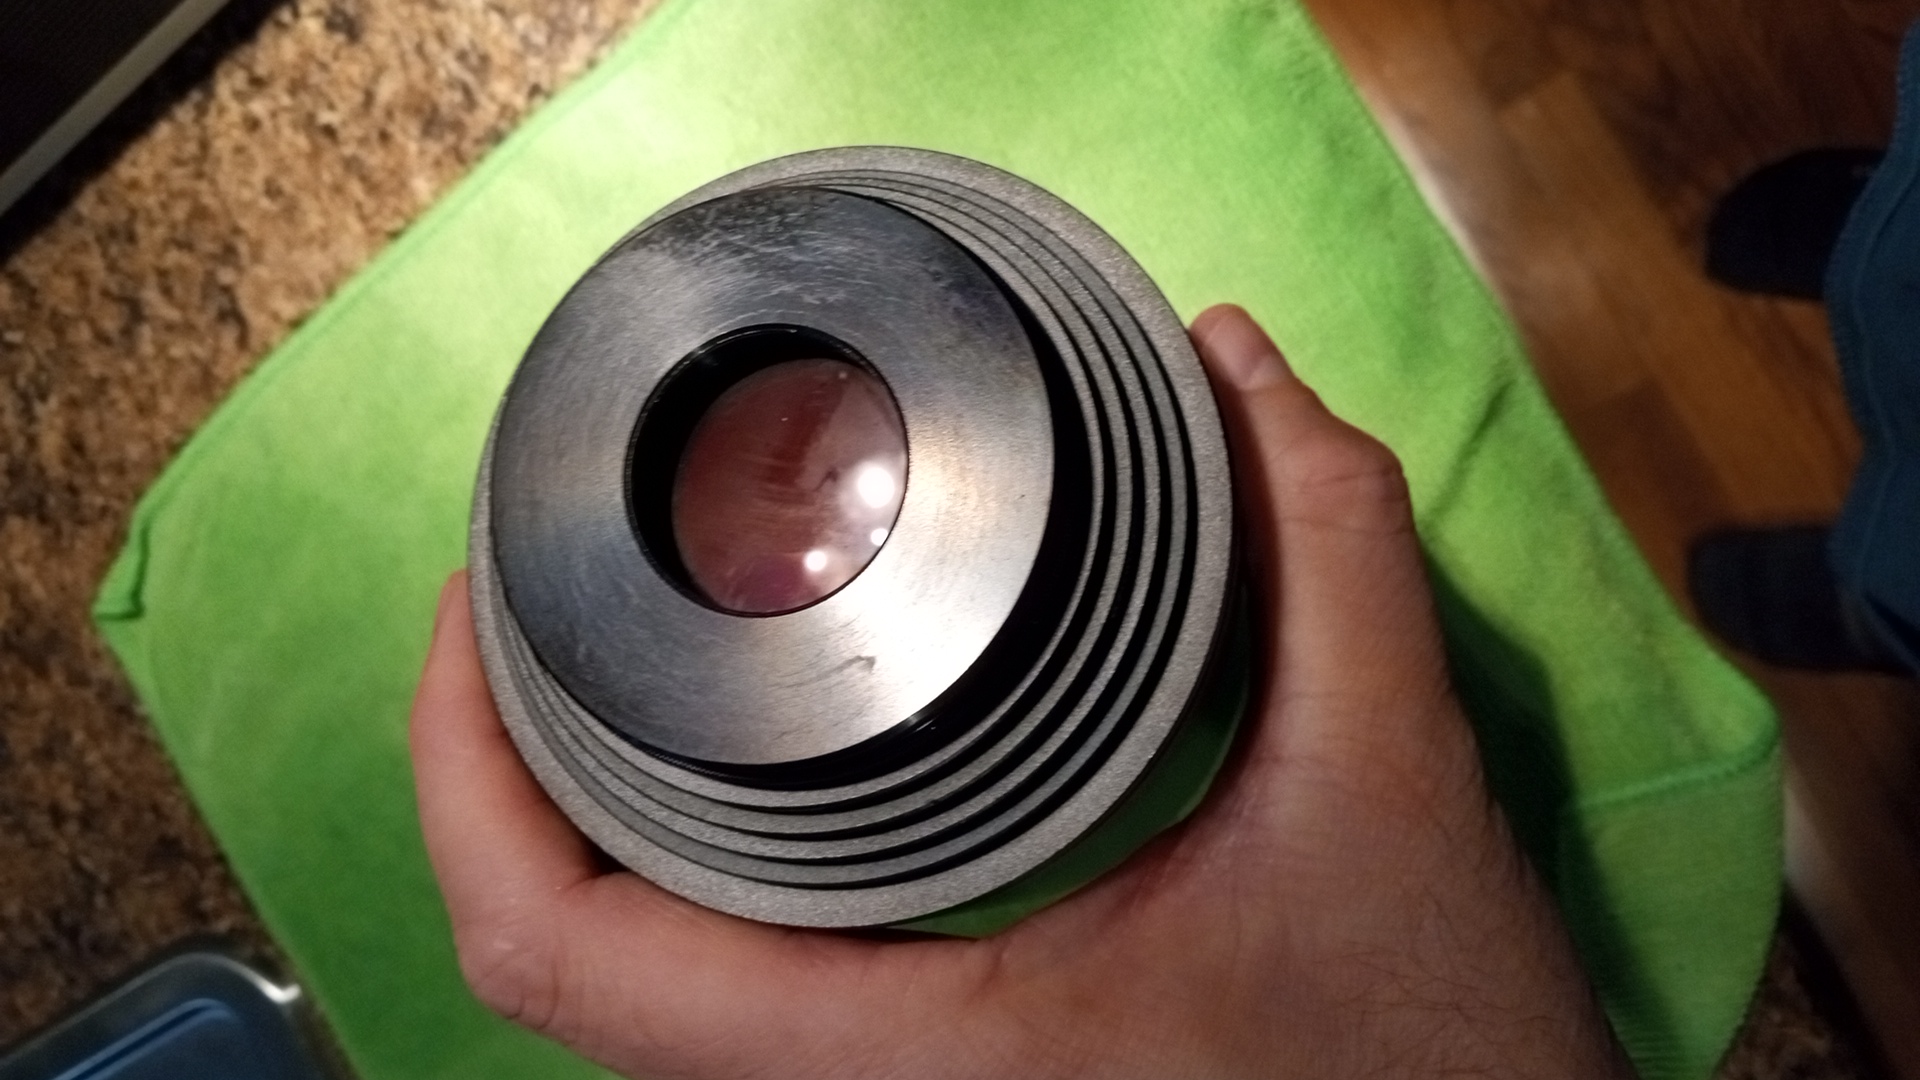
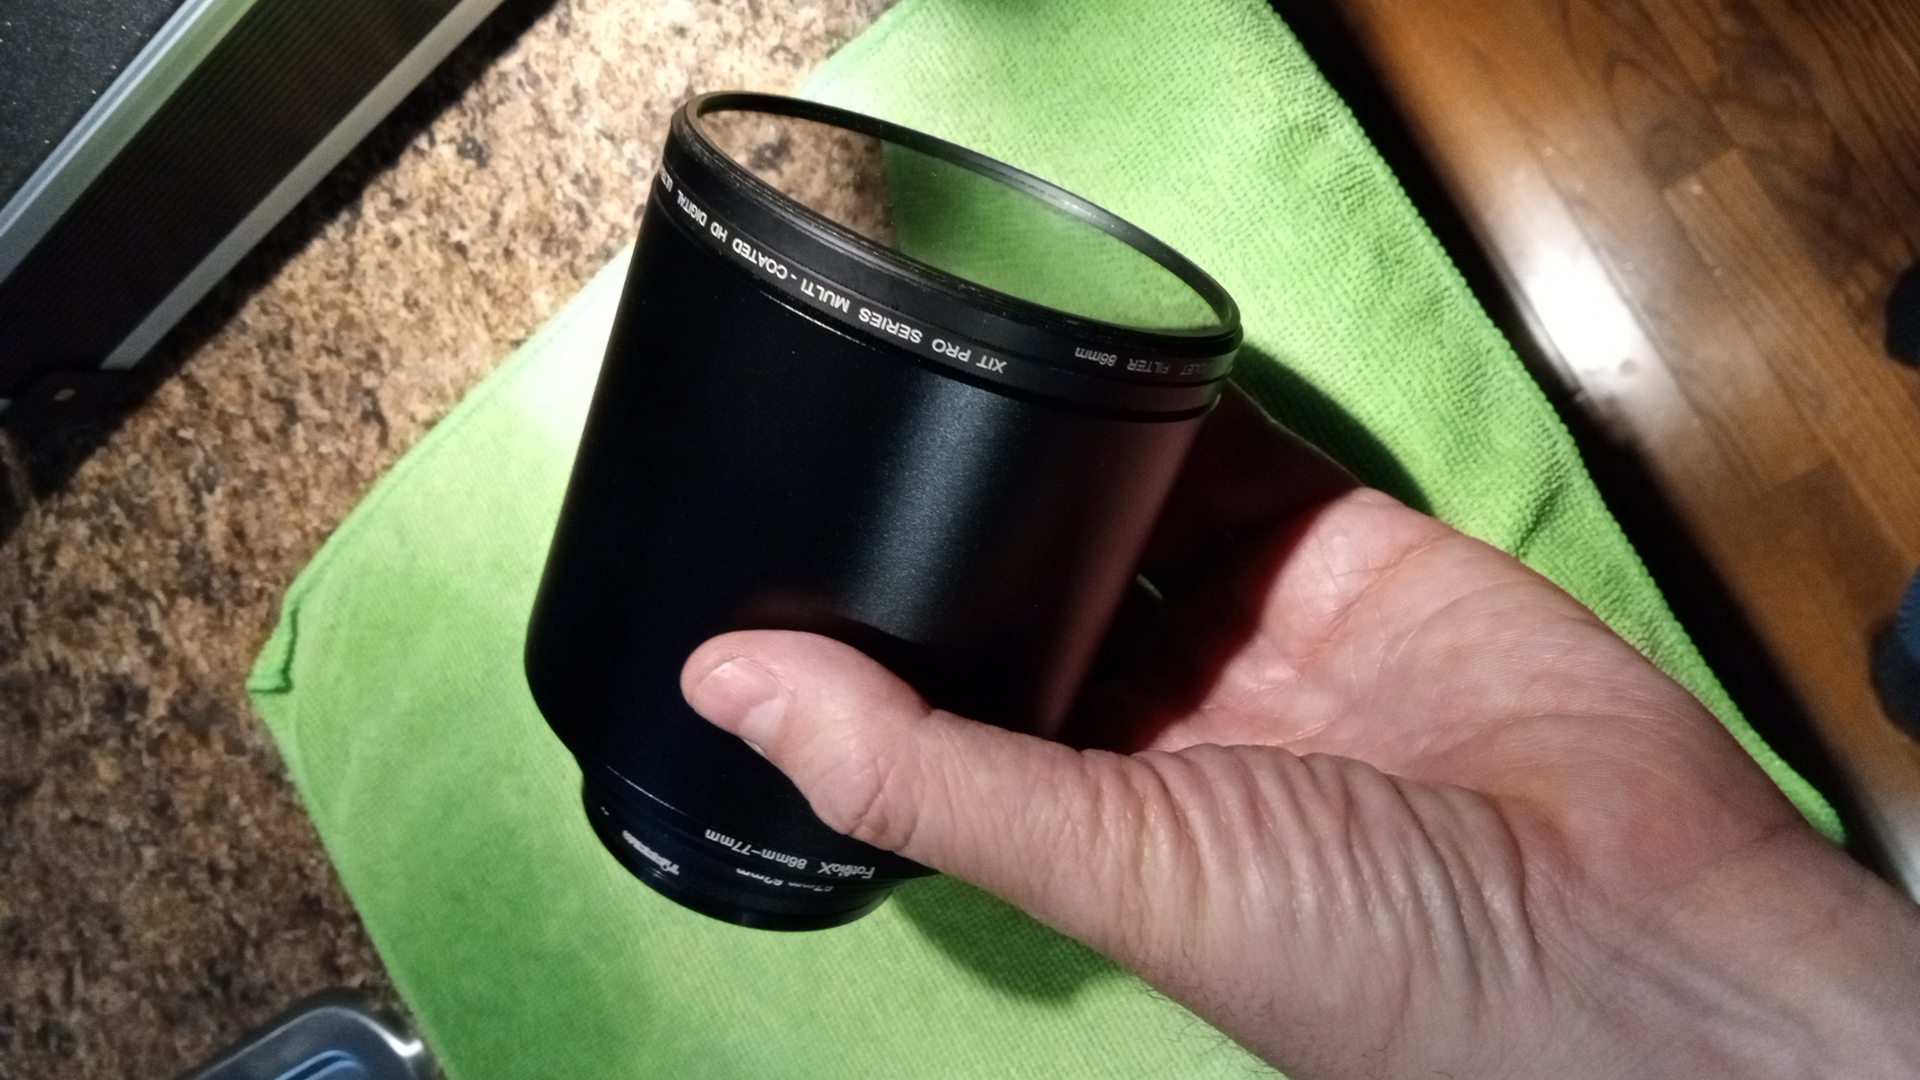
I also have it stored in a hard case for travel and to protect it when not in use. This is my way of checking daily for sunspots visible without a telescope.

Steven
Edited ...
Like
sfanutti 1.91
Topic starter
...
· 
·  Share link
I have renewed my AstroBin subscription as I started a major project; to take solar images this year on as many days as time and weather permits. My 55-250 mm telephoto lens is ideal for taking quick image stacks. On days that I have more time, I prefer to use my Sigma 150-500 mm telephoto lens with a 1.4x telextender for a focal length of 700 mm. I use Thousand Oaks Black Polymer and Silver Black Polymer film. Image stacking is done in Siril and processing is done in GIMP. I am using my unpowered Solar viewer to look for large sunspots, in combination with my solar viewer application:

https://youtu.be/EvVXTXI15-g?feature=shared
Edited ...
Like
sfanutti 1.91
Topic starter
...
· 
·  Share link
UPDATE: In testing, I found that sunspots were harder to see with the viewer using the secondary red filter than with solar glasses. I therefore substituted the secondary red filter with a yellow filter and sunspots were as easy to see as solar glasses while reducing the internal reflection.
Edited ...
Like
steveward53 1.20
...
· 
·  1 like
·  Share link
You'll get much better views if you ditch the TO polymer film and switch to using Baader ND5.0 Solar Film instead.

Having done all the comparisons over a decade ago I can assure youthere is nothing to match Baader film for clarity and detail  (barring a jump up to a decent Herschel wedge which would be no use for the application you have in mind)
Like
sfanutti 1.91
Topic starter
...
· 
·  1 like
·  Share link
Steve Ward:
You'll get much better views if you ditch the TO polymer film and switch to using Baader ND5.0 Solar Film instead.

Having done all the comparisons over a decade ago I can assure youthere is nothing to match Baader film for clarity and detail (barring a jump up to a decent Herschel wedge which would be no use for the application you have in mind)


Yeah, that seems to be the consensus of what I have read online. For my telescope, I have a TO Solarlite film filter, but also a Spectrum Telescope glass filter. I haven't tried the glass filter yet.

For the project in this thread, I first made a prototype using TO Silver Black Polymer, a plastic pipe and cardboard. To get the sharpest view, I have to vary the distance which I find cancels double-imaging from astigmatism that I see using solar glasses. However, when I do that with my prototype, I can see the texture of the outer silver layer of the film, something I don't see with older TO film. In the future, I can easily replace the film on the metal model with Baader film simply by unscrewing the two UV filters. But I am a little disappointed in the TO Silver Black Polymer for this visual project. I found it fine to make an "upgraded" camera filter though, but I will consider Baader when replacing the film.
Edited ...
Like
sfanutti 1.91
Topic starter
...
· 
·  Share link
@Steve Ward The prototype model.
IMG_20250505_223226949.jpgIMG_20250505_223208683.jpgIMG_20250505_223154779.jpg
Like
sfanutti 1.91
Topic starter
...
· 
·  Share link
UPDATE #2: I have tested multiple configurations, including without the secondary filter. While the central reflection is present, there is great deal of dark peripheral field caused by the shadow of the step rings, such that the Sun is clearly visible against a black sky when viewed off-center. This is my favourite configuration as it shows the most natural-looking view.

I have also used this configuration while using a dark red filter in my other hand while the Sun is blocked by the viewer to view the sky close to the Sun safely. I immediately realized that this combination will be extremely useful when viewing crescent phases of the Moon during the day when close to the Sun. I have used the red filter many times to spot Venus during the day. I am looking forward to the next crescent phases of the Moon to try this out. I will write more in a future post to further explain how this configuration works.
Edited ...
Like
 
Register or login to create to post a reply.