I bought this scope to give myself a bit more reach focal-length-wise for some of the smaller targets. It's native FL is 1377 mm, and I picked up the matching 0.67x reducer to cut the FL to about 920 mm. I also picked up the tilt plate for the focuser and the camera rotator ring. I planned to run this rig on both my iOptron mounts--GEM45 and GEM28.
After unboxing the scope I'll admit I was favorably impressed with the build quality given that this is a $700US scope. Mechanically it seemed solid. Even the focuser was beefier than what I imagined. The focuser being a Crayford style, I still had some misgivings about its ability to handle the load I was going to put on it, but that has not been an issue so far. I did install a ZWO EAF on the focuser.
My typical imaging train is a ZWO camera (either the ASI2600MM pro or the ASI533MM pro), a ZWO filter wheel (7-position 36mm or the 8-position 1.25"), and a ZWO OAG with ASI290MM camera. The length of this imaging train from the front of the OAG to the sensor is about 56 mm. It's worth mentioning that I had the focuser tension screw pretty tight to handle this load.
I also bought a Howie Glatter green laser collimator (darn thing cost almost as much as the scope!) in hopes that it would make collimation easier (Cheshire collimators are not friendly to old eyes like mine).
Initially, I set aside the focuser tilt plate and collimated using just the primary and secondary mirror adjustments. It took a bit of figuring but I was able to use the laser collimator to my advantage. That's not to say that collimation was perfect, but I got the focuser/primary mirror centered on the center of the secondary, and then adjusted the secondary so that the laser beam was reflected back on itself. So far so good.
One of the fun parts of putting a new scope into operation is figuring out where it focuses. The instructions that came with the scope indicated that if I was using the camera rotator ring but not the focuser tilt plate, along with a 55mm imaging train, I should install both the 25mm and 50mm spacer rings and then rack the focuser out about 13mm. So that's how I set it up. Turns out it wasn't even close. In order to achieve focus I had to remove the 25mm spacer ring, and then I achieved focus with the focuser racked out to 20 mm. (This was without using the 0.67x reducer.) Even at its best focus it did not seem especially sharp, but I had to remind myself I was shooting with a FL of 1377 mm.
I was using the ASI2600MM Pro camera, which has an APS-C-sized sensor, so I wasn't sure how many guide stars I'd see in the OAG. Turns out my concern was valid. I could only see a couple bright stars in the OAG and they were significantly distorted. It took a bit to get the OAG camera focused properly, but I managed to get it good enough that PHD2 was able to guide for the evening.
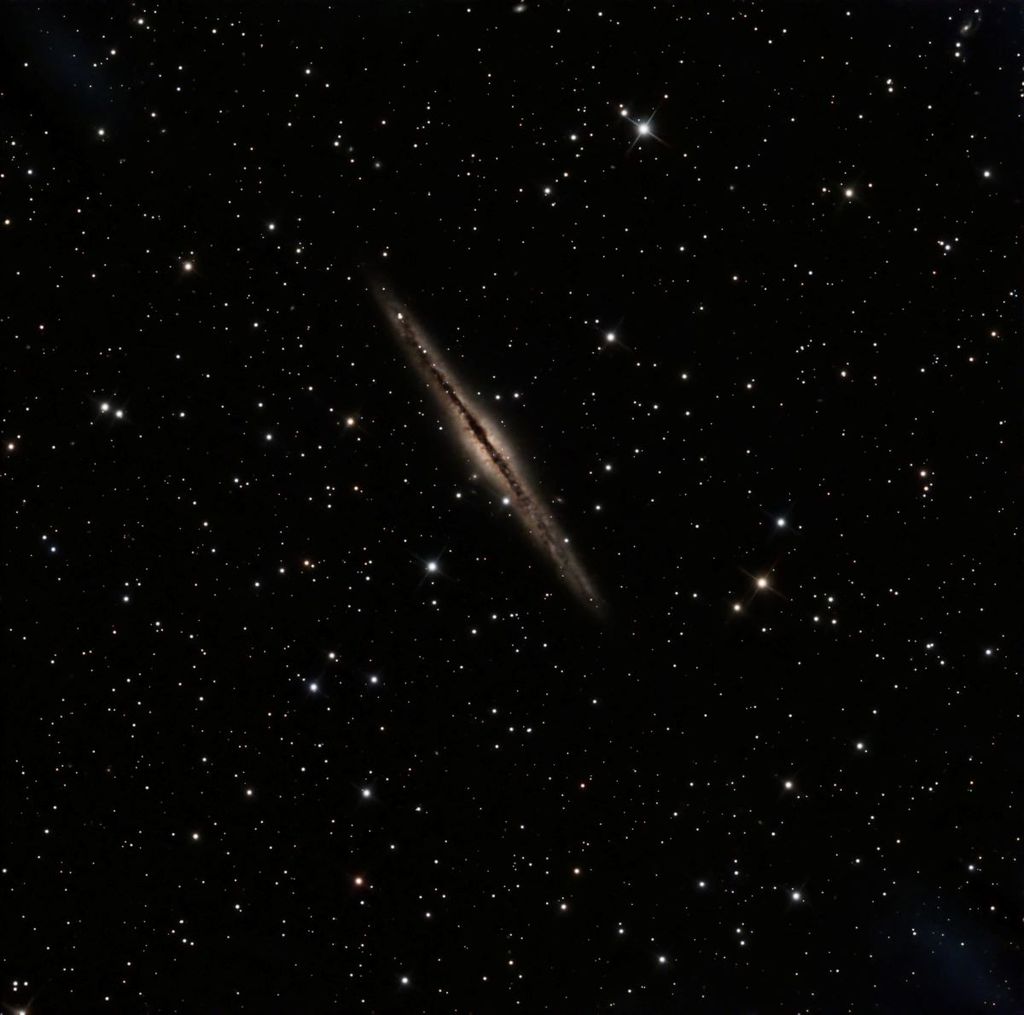
I shot galaxy NGC 891 in LRGB, and the subs didn't seem sharp at all--in fact they appeared kind of bloated and maybe a bit out of focus. My autofocus routine in NINA seemed to be doing a good job of identifying the best focus, so I figured this was a combination of the focal length I was shooting at and a questionable job of collimating on my part. But I let the rig shoot all night, and in the morning I had data to play with. PixInsight did an amazing job of turning unimpressive data into a passable image:
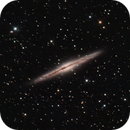
First Light for 6" RC: The Silver Sliver Galaxy
I think there's lots of room for improvement, especially in guiding and collimation. Next time I plan to shoot with my ASI533MM Pro. It has a smaller sensor that allows me to get the OAG prism farther down into the FOV, hopefully improving the number of stars available for guiding. And with improved collimation (including putting the focuser tilt plate into use) the guide stars should look a little better, and the subs should be a bit sharper. I think that the best configuration for this scope might be to use it with the 0.67x reducer, but I haven't yet tried that.


