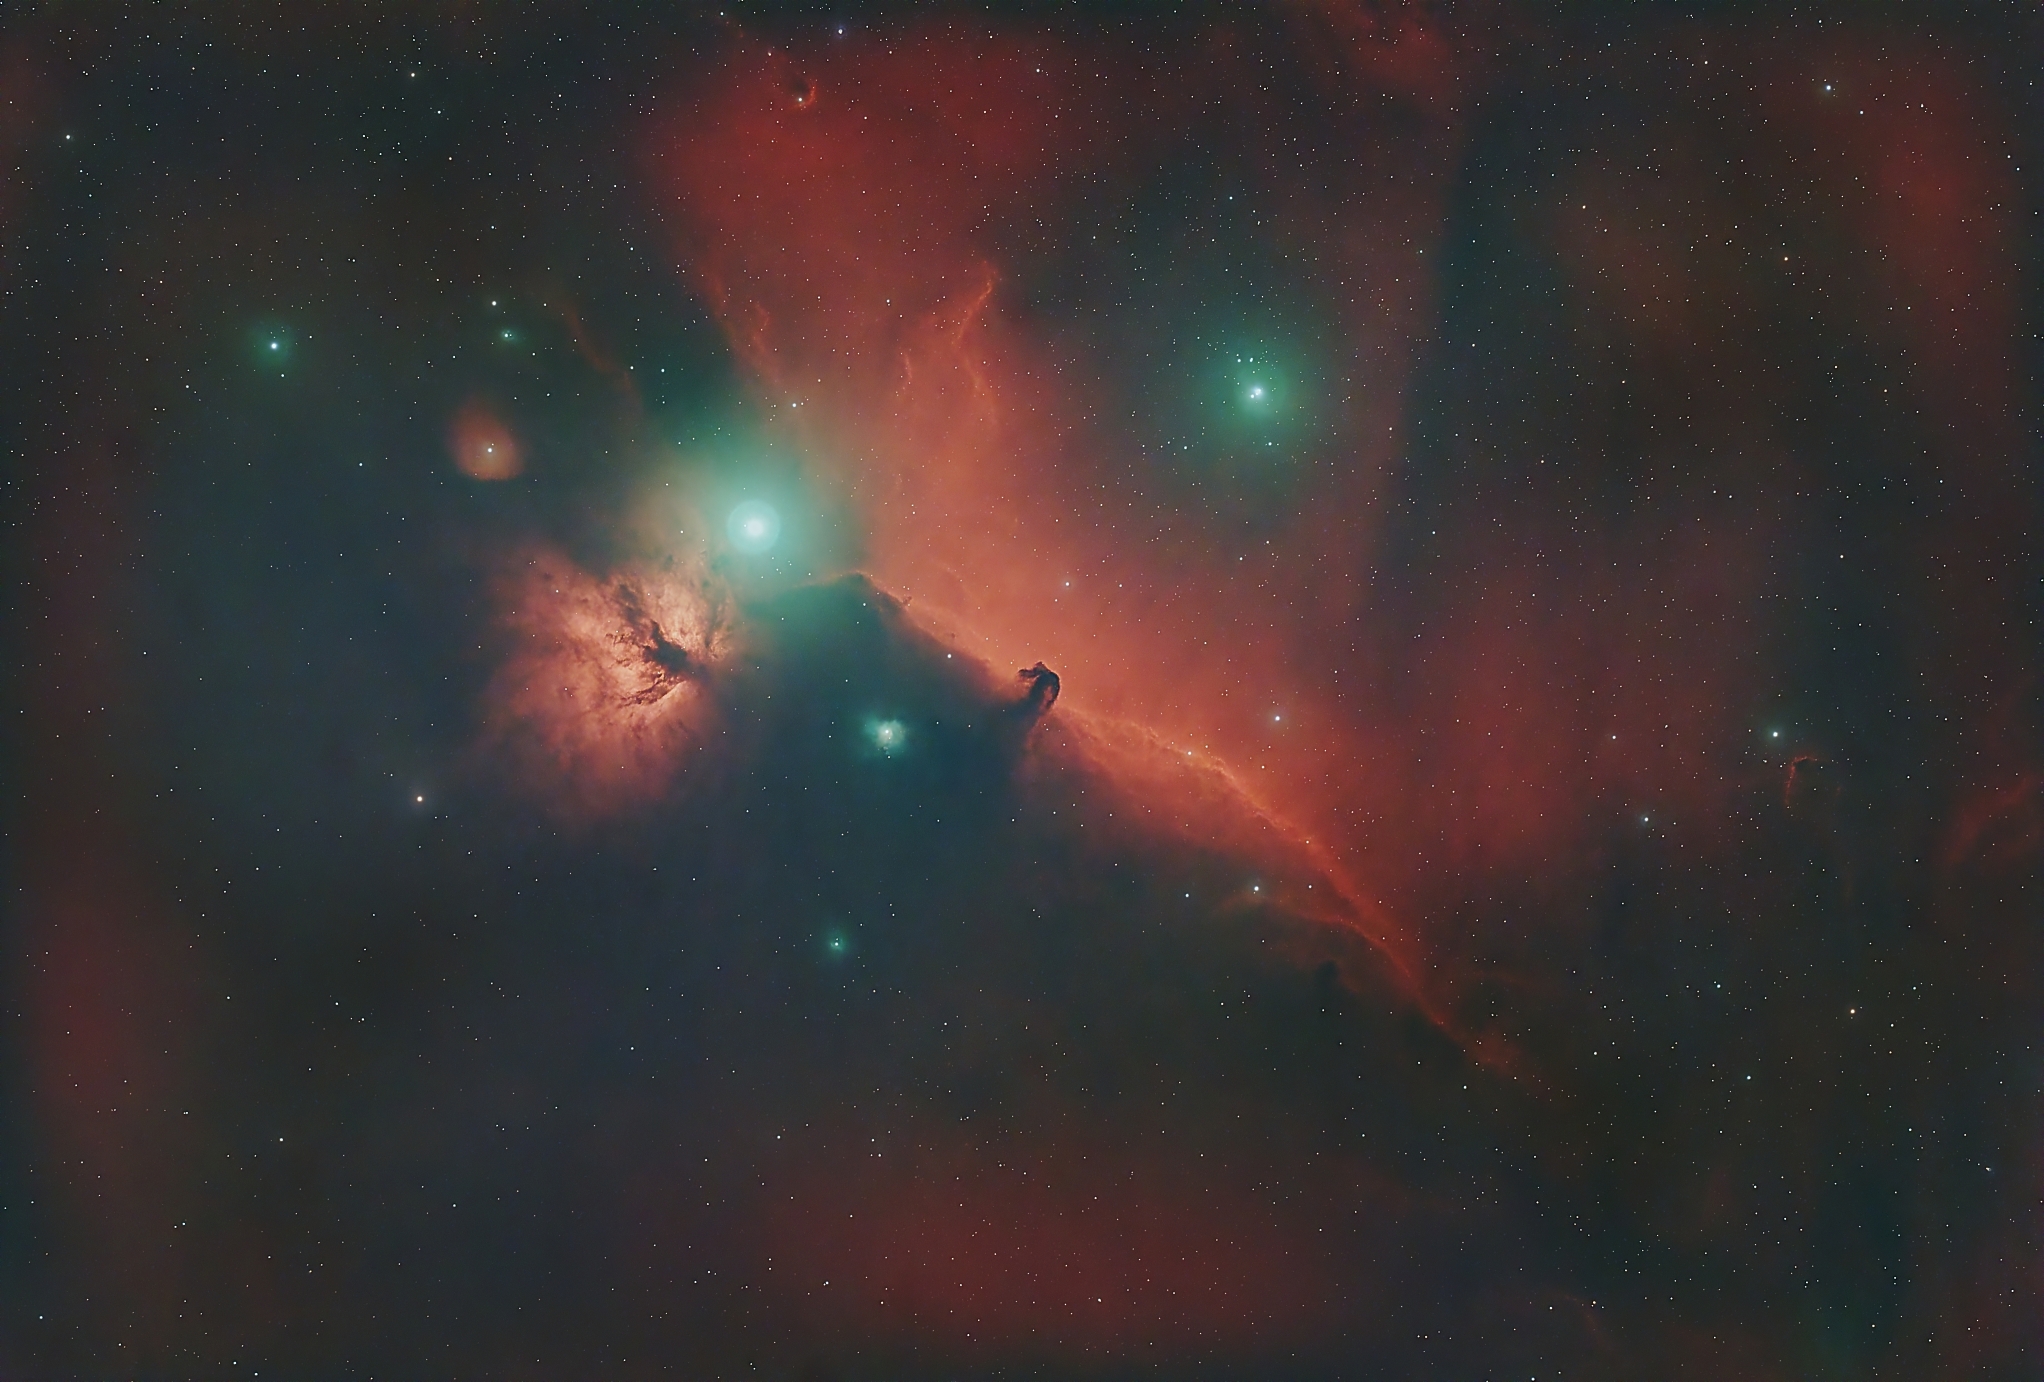
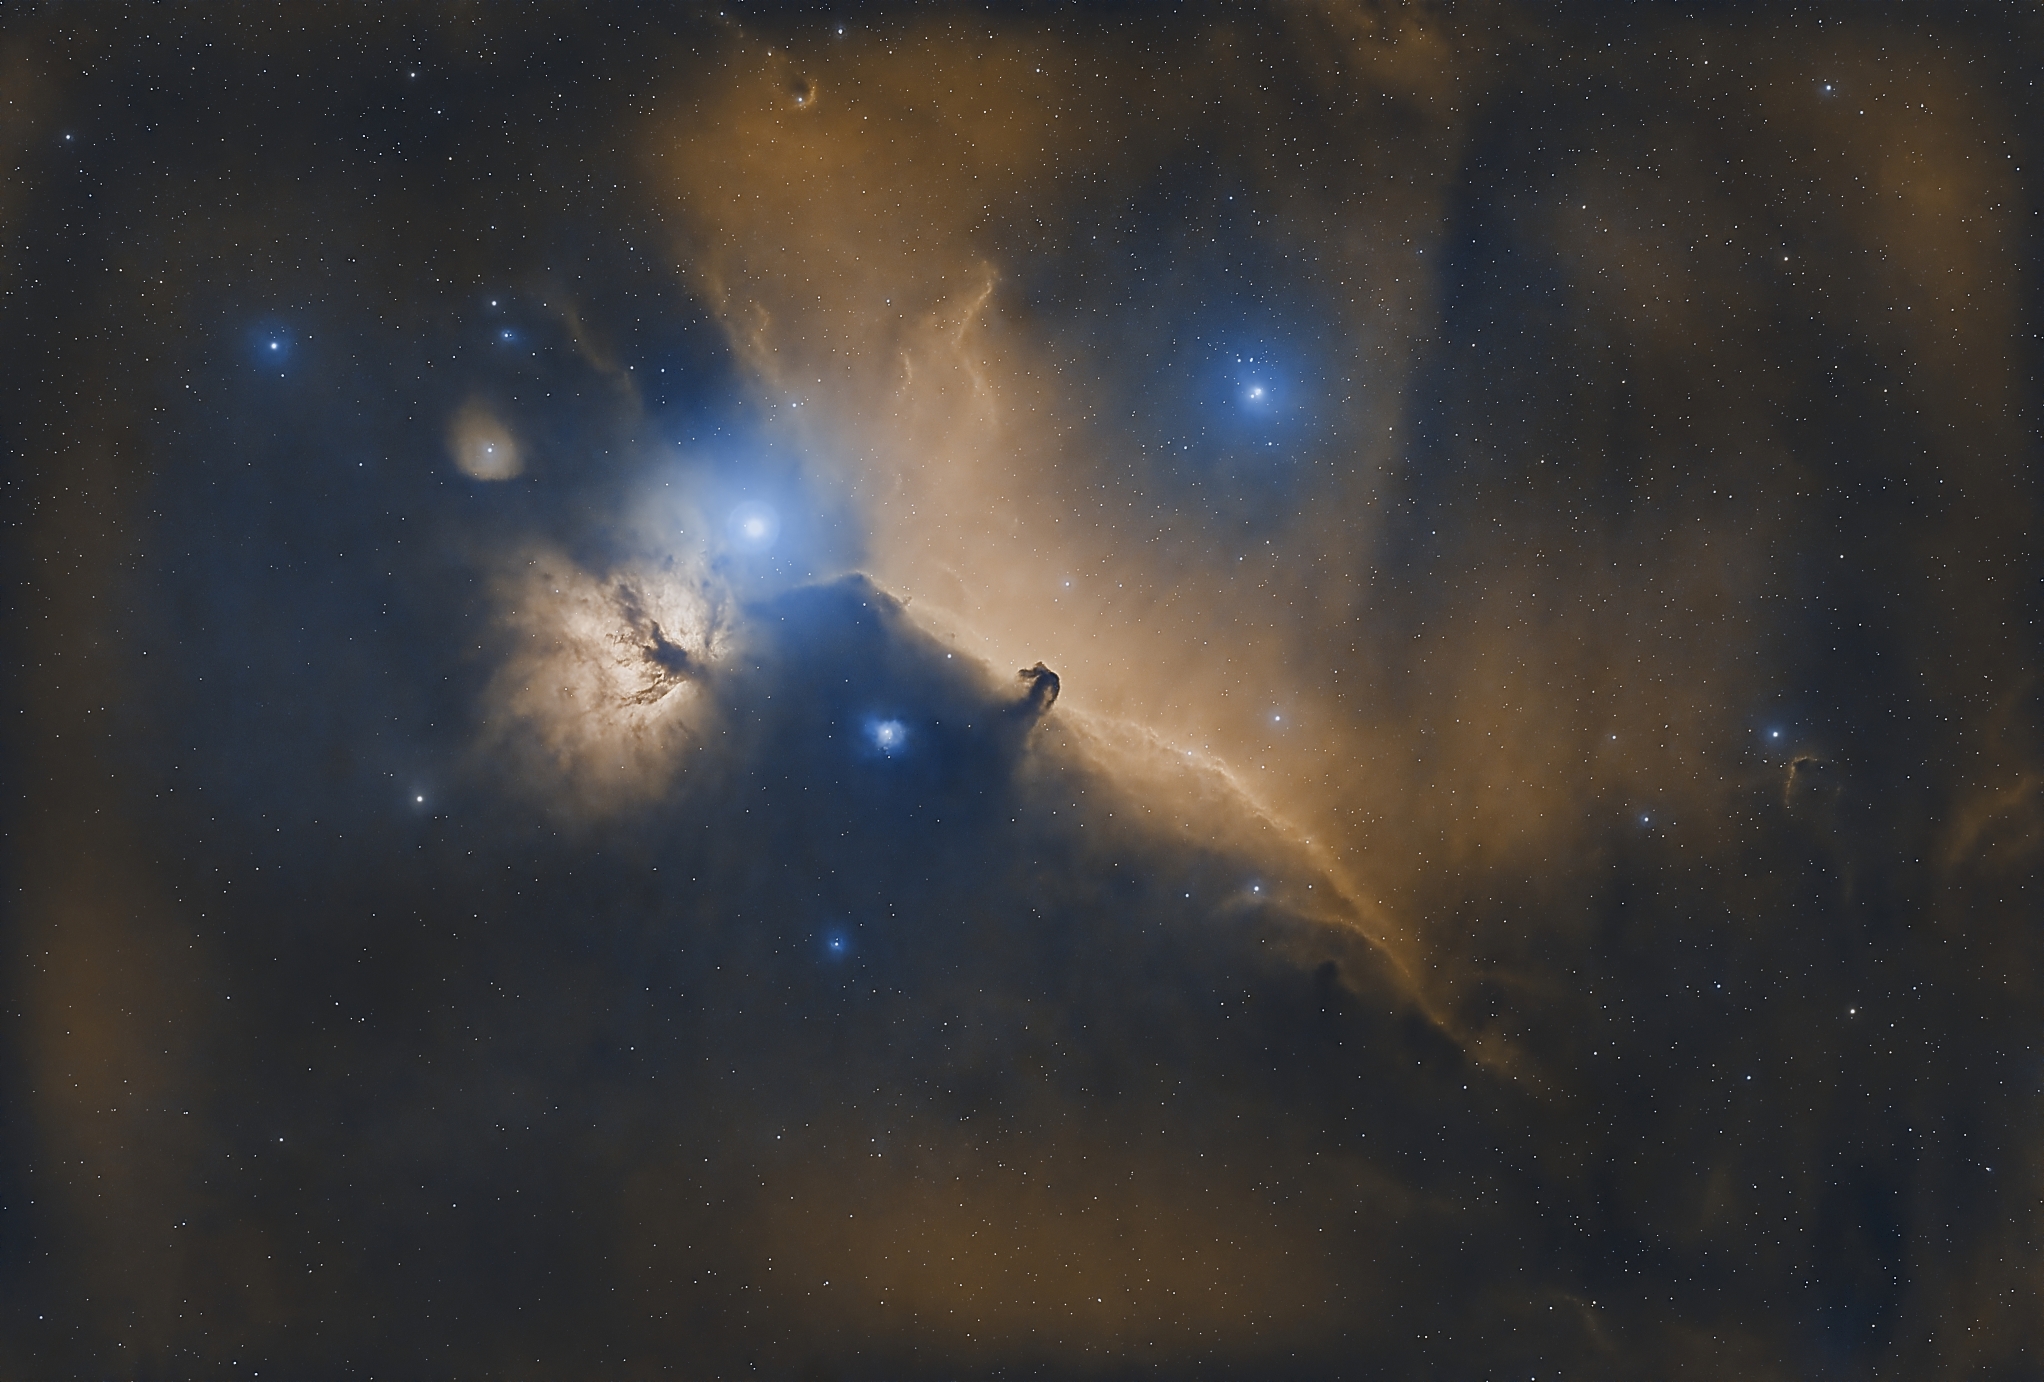
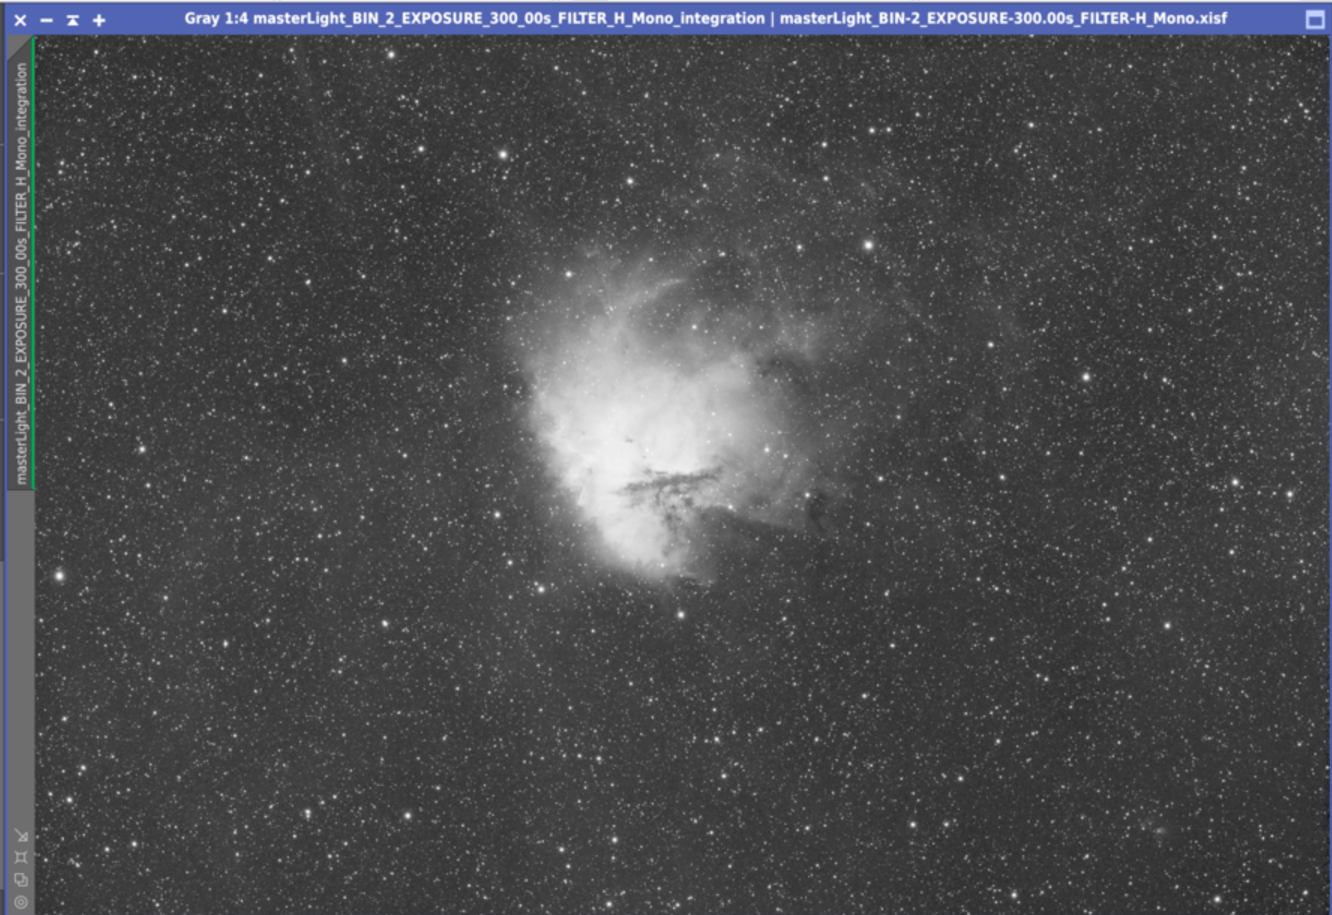
What I can see very evident is the patchiness of colours - is it the nebula itself, or the background extraction not done too well, or the stretches too agressive?
This time, I also upgraded a 0.8x field flattener to WO GT71 APO, and decided to go aggressive on dithering (every 2 frames) to make use of drizzle this time. 180s subs, total ~5 hours in Bortle 8 sky.
Workflow is as follows:
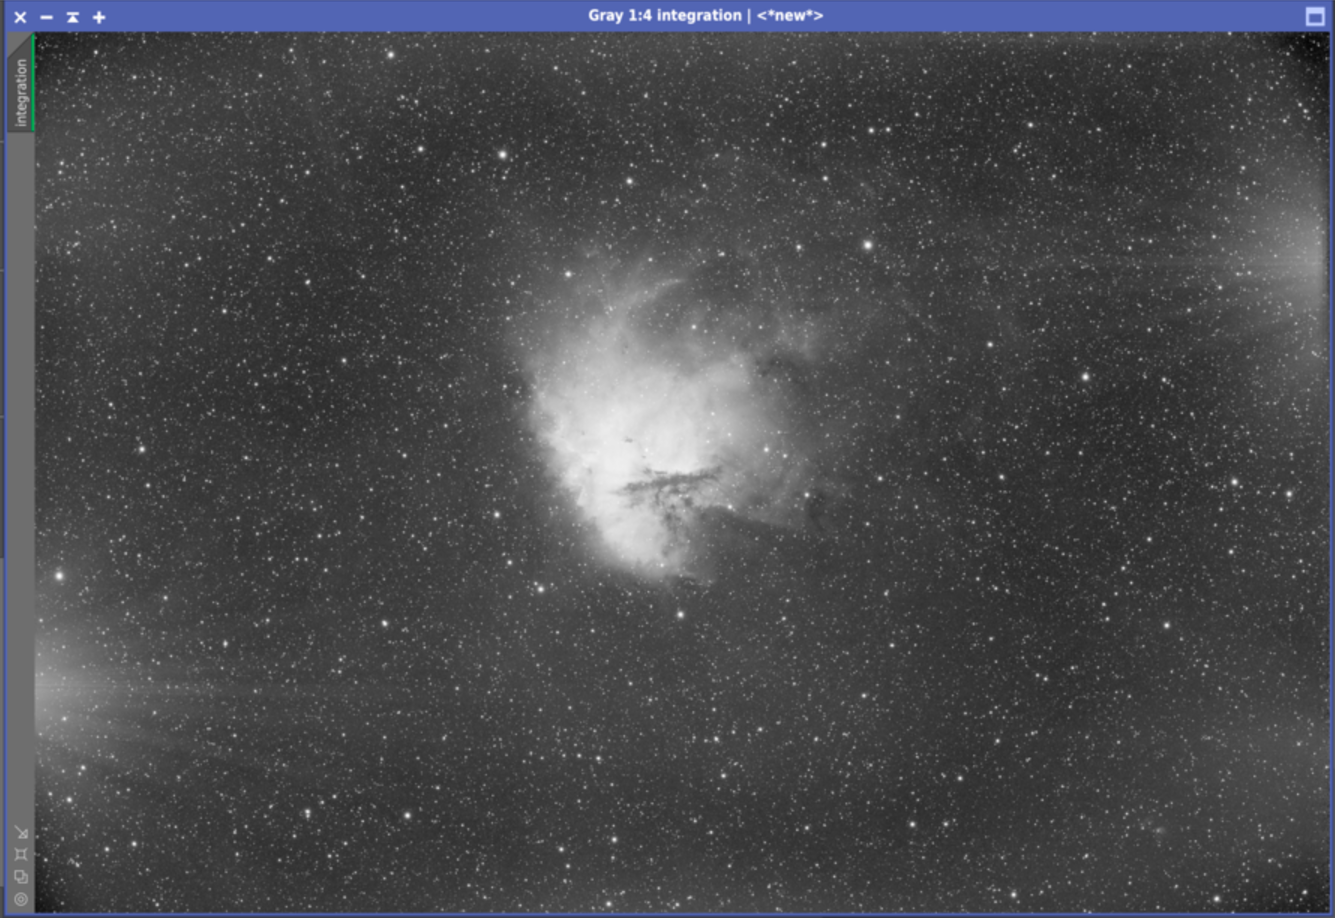
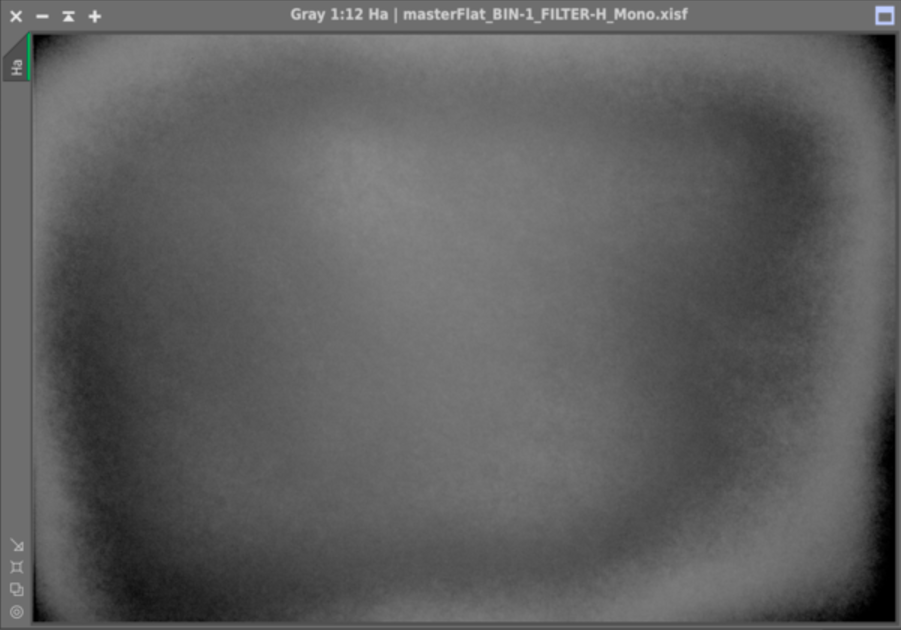
1. WBPP with drizzling (2x, 0.8), followed by 200% downsampling. Used the drizzled integrated image going forward (difference was very visible!)
[EDIT]: Missed writing about SetiAstro ADBE step right after WBPP
2. Background Neutralization
3. SPCC - I think this is not requiredfor a HOO palette. For traditional colours, I used 'L-Extreme' option in the filter dropdowns for R,G and B. I have seen different views here, so will be good to hear feedback. Even if I use narrowband filters and enter 7nm, the final regression graph i get is mostly similar. So I am unsure which one to use.
4. BlurXterminator at default settings (playing around with trial) - Earlier when I did not have the field flattener, I used to run the starless image through SIRIL deconvolution to remove the elongatedness of stars. The field flattener is pretty awesome here! But the results of BlurXterminator have taken it one level further.
5. Starless and Star marsk using StarNet
Traditional Palette: Executed the following on Starless Image
6. NoiseXterminator (70%)
7. SetiAstro statistical stretch (median 18%, unlinked stretch, curves boost almost around mid position of slider)
8. Some masked curves stretches (RGB S curve, R boost, Saturation boost)
Starless Image:
9. NB to RGB SetiAstro Script with color boost and star stretch
10. Added the starless and star images (Used straightforward Starless + Star, as there were no bright cores that I had struggled with orion nebula earlier). If you have other recommendations apart frmo usual addition or screening, please do share your thoughts!
11. NoiseXterminator (75%)
12. NoiseXterminator (60%)
HOO Palette: This is one of my first images, havent even seen too many videos about this, just playing around for now.
11. Used the outcome of starless + star image, just ran it through Narrowband normalization. Played around with sliders, and realized the defaults just gave the best results for now.
Please do share your feedback, will incorporate it along with more data for the final processed image.


 .
.